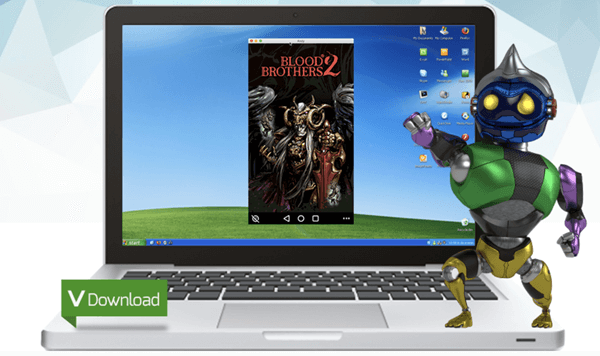
Kinemaster For PC Windows 10/8/7 Free Download
a very popular Android video editing software with many advanced tools to edit the video. It also has many other features which make it compatible to be used for editing even short films. So, it can also be used to edit the videos on PC making the best use of its features and can add more effects to it. Here in this article, you will get the idea about how to download KineMaster on PC for free.
KineMaster and its features
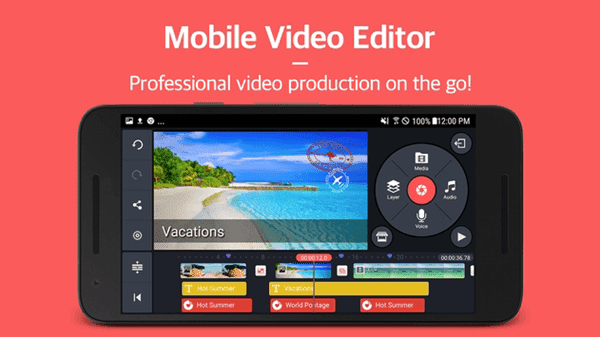
Before proceeding further, you must know how Kinemaster is suitable to be used a video editing software on PC. You can enjoy its timeline-based workflow feature which video and audio layers. It is better to go for the free version of the Kinemaster as the paid version only gives the facility to remove watermarks from the video graphics other than those features available on the free version. Kinemaster is considered as the handiest tool for professional video editing for Android smartphones.
It offers the tool to edit multi-layers of video, images, and texts and allows the user to trim multi-track audio as well. Apart from these features, you can also explore its features like precise volume control, 3D transitions, LUT filters and many more.
Features of Kinemaster
- You can control the playback speed of the video and make it as per your preference.
- Effects like a blur, mosaic, etc., can be applied to the video.
- There are many animation styles listed in the Kinemaster directory which you can use to make your video more attractive.
- You can provide a sleek design to your video frame using frame trimming.
- It allows the user to manage the appearance by using hue, brightness and saturation controls.
- It can also be used to record real-time video and audio using the camera of the smartphone.
- Many transition effects like 3D transitions, wipes, fades, etc., can be applied to the video.
- It also offers background green screen effects.
- It enables the multi-layers of videos, images, effects, overlays, and stickers.
- You can check the preview of the edited video after applying each editing tool.
- You can also draw on the video using its mobile application.
KineMaster is a wonderful application to be used by a journalist, short-film maker, educators, and other professionals.
Compatibility: All devices above 4.2 marshmallows, Nougat, Oreo 8.0 and all the latest Android devices
To download KineMaster for Windows and Mac OS PC
Since Kinemaster is an Android software so you can install and use it on the PC by making the use of Android emulator. Now the question arises, which Android emulator will suit your device to install Kinemaster. For this, you can use BlueStacks 4 emulator, which is the well-known emulator of the present time. It is the updated and enhanced version of the oldest emulator BlueStacks. It consists of all the optimized tools which make it completely similar to be worked as an Android device. Therefore, BlueStacks 4 is the best choice of the emulator to be used to install and run Kinemaster on PC. Now, follow these steps to install Kinemaster on your Windows PC.
- Get BlueStacks 4 emulator downloaded on your PC and then install it using its Exe file on your PC.
- After the installation process is finished, you need to sign in to the emulator which you can do using your Google account in one tap.
- Now, you can directly install the Kinemaster app from the Play Store. Install it and start using it for video editing.
If you will use this video editor on PC in place of Android smartphone, your editing work will get more enhanced as you will get a large screen to do the editing. Moreover, you can work with it more precisely by customizing the settings of the emulator and increase its workability. Moreover, you can also remap the keys and make your editor work as per your choice.

Well, it is not mandatory to use BlueStacks 4 to install Kinemaster on PC. You can use any other effective Android insulator as well if BlueStacks does not work properly on your device. Some suggested Android emulator for better performance is given below.
- Nox App Player
- Ko Player
- Andy emulator
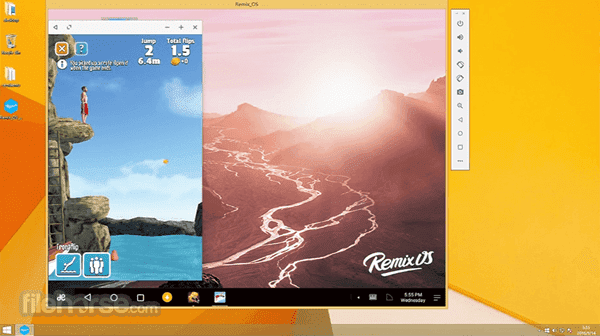
- Remix OS Player
- Droid4X
Android Emulator
Android emulator is required to use any Android application on PC. Android emulator is configured with many tools which make it similar to be used as an Android device. So, the selection of Android emulator is important to manage and perfectly run the Android application on PC. Let us know about it.
1. BlueStacks
It is considered one of the best and most powerful tools to use Android games and software on PC. It provides a very fast and smooth performance of the installed app which can be further improved by making changes in the emulator settings. It has a very user-friendly interface allows the user to use and work with the Android application on a PC without any lag. BlueStacks 4 is the beta version of BlueStacks and is having all the enhanced and improved features of it.
2. Nox App Player
It is a newly released Android emulator that allows the user to install and run an Android app or games on a PC or laptop. It is designed on the basis of Android 4.4.2 kernel. It runs very quickly while working and never stops working in the mid-way. Moreover, it is completely free to be used with X86 and AMD. It offers to shake features to give the best experience to use Android apps. It can be downloaded from Google Play Store or using the browser. It provides the highest performance to run the app smoothly on the PC and you can set it as your alternative to BlueStacks 4. It can easily installed on Windows OS PC.
Read: Youtube hot videos list.
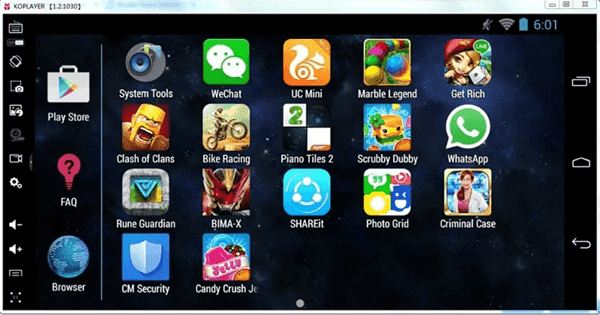
3. KO Player
KO Player offers all its features as an Android emulator on PC for free of cost. It is specially designed to play Android games on PC without any interruption. It supports the Windows operating system and enables the PC to download and run all Android games and apps. It is fast and stable and provides compatibility with the apps. Multiple accounts can be used on this Android emulator along with remapping of the keyboard, video recording, and gamepad. Using KO Player, you can install the Android apps from the Google Play Store. It is a perfect player providing maximum stability.
4. Andy Emulator
Andy emulator is a very efficient Android emulator with its user-friendly and simple interface. Using it, you can enjoy downloading Android apps and games on your Windows PC or Mac. Furthermore, Andy can also be worked with Xbox and PlayStation controllers. Unlike BlueStacks, you can use Andy emulator without paying for any subscription or paid plan. The recent version of Andy emulator is defined on the basis of Android Marshmallow.
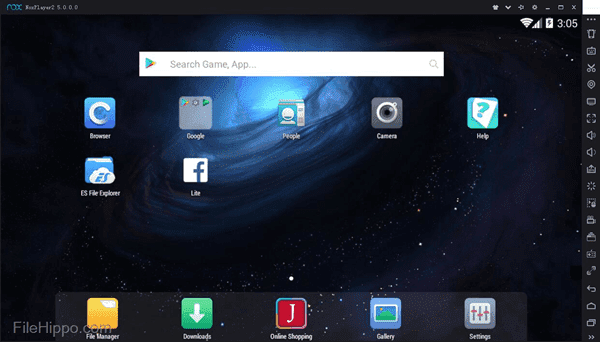
5. Remix OS Player
Remix OS Player is the latest and optimized version of the Android emulator which enables the user to use Android apps and games on PC. It is capable to remap gamepad and keypad adding new controls and actions. You can make your game or app more enhanced by customizing the emulator settings. Its current version is updated on the basis of Android Marshmallow. It is a very effective and powerful Android emulator.
6. Droid4X
Droid4X is capable to provide the complete Android environment on the PC to the user. It is completely free to use. It allows the user to make gamepad and keypad configurations. Moreover, It also allows screen recording, performance enhancement, and free unlimited Android games. It works more efficiently with the touch screen laptops. You can download the apps directly from the Google Play Store using Droid4X. So, if you are addicted to Android games and want to play it on a bigger screen with more enhancement and screen control, you must go for this emulator.
Here, you have seen the different features of KineMaster and why it is beneficent to be used on a PC. Further, you have gone through the steps using which you can install and use KineMaster on your Windows PC or Mac. As you know, no emulator is perfectly designed. So, if you are not capable to do things using BlueStacks 4 on your PC then you can switch to another Android emulator. If you have any queries or doubts taking the installation and usage of KineMaster, kindly share it in the comments section.
Also Read: Haloamovies alternatives.
Tips: How to backup data on an Android phone?
Note: if you are restoring the data then your old data will be deleted if there is.
1 Custom recovery (TWRP)
If you are having a problem with your system and want to reset your phone then you can use this method. But you need a custom recovery.
Just open custom recovery (I recommend you to install twrp) then click on backup and select data. Not a single thing will be changed when you restore it after resetting your device. This is the best method if you don’t want to lose anything.
Note: you can’t use the data in any device before restoring
2. By ES file explorer (by rootless method)
This is the rootless method and you may be familiar with ES file explorer. Well, it’s a great app. It has a number of features. One of the features is backing up apps. When you open ES file explorer, you will see an option of the app, tap on that and then you can backup all the apps. And then, data present in your storage, you can copy to PC and afterward copy it back.
3. Link2sd (rooted method)
This is a very strong app manager but root. It acts the same as that of ES file explorer but it is way better than that. You can backup any app or move it to SD card. If you move to SD cards, and then if you format the phone, then there will be no harm to the app you transferred to the SD card. Like I said above, you can transfer the rest of the file to PC. And then again copy it back.